It can be tricky to know whether or not you have to prime drywall before painting. Luckily, we’ve got you covered! In this post, we’ll discuss whether or not you need to prime drywall before painting, and provide some tips on how to do it.
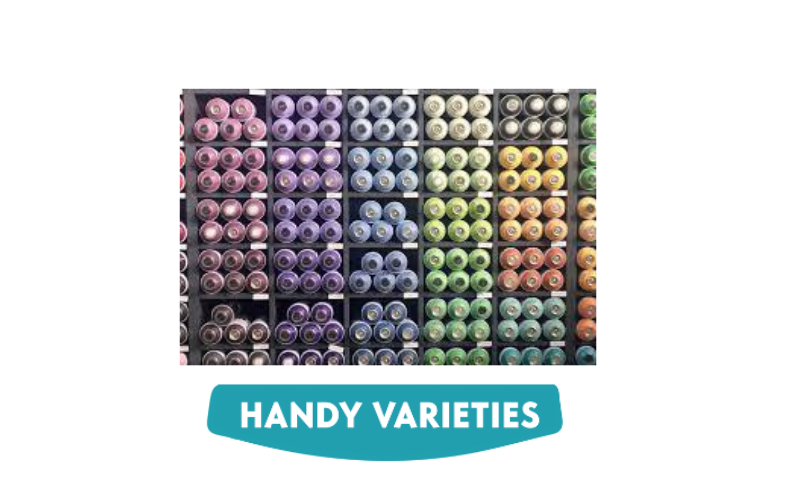
Priming a drywall surface helps to prevent the paint from sticking to the wall, and also creates a smoother surface for painting. There are a few different ways to prime a drywall surface:
-Spray on a layer of primer before painting.
-Use an adhesive that is specifically designed for priming drywall.
-Apply primer over a layer of wet plaster or joint compound.
-Mix equal parts white vinegar and water and apply it to the surface to be painted.
Priming will help to prevent the paint from sticking to the wall, and it also makes the wall more receptive to being painted. However, not all walls need priming to be painted; it depends on the type of paint that you’re using and how well it adheres to drywall. In addition, some paints may require special primers to work properly. Talk with your painter about what needs to be done before painting for the job to proceed smoothly.
Do You Have To Prime Drywall Before Painting?
Yes, you do need to prime drywall before painting. Priming drywall will help to prevent moisture and other materials from seeping into the wall and causing damage.
How Do I Primer Drywall?
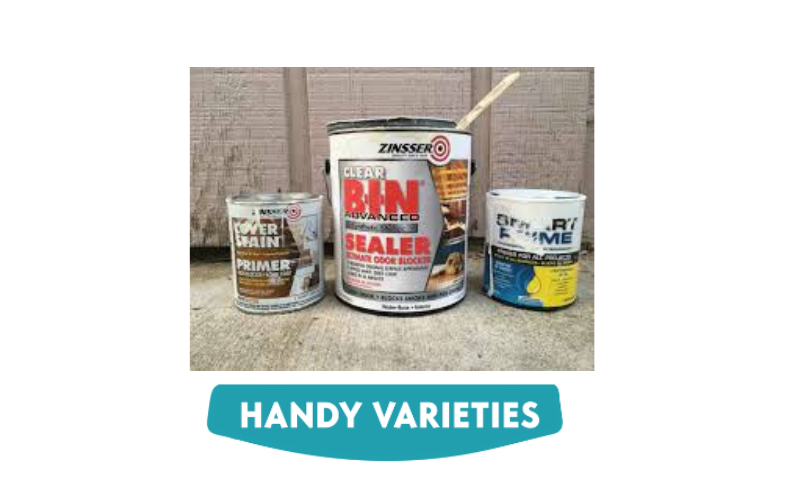
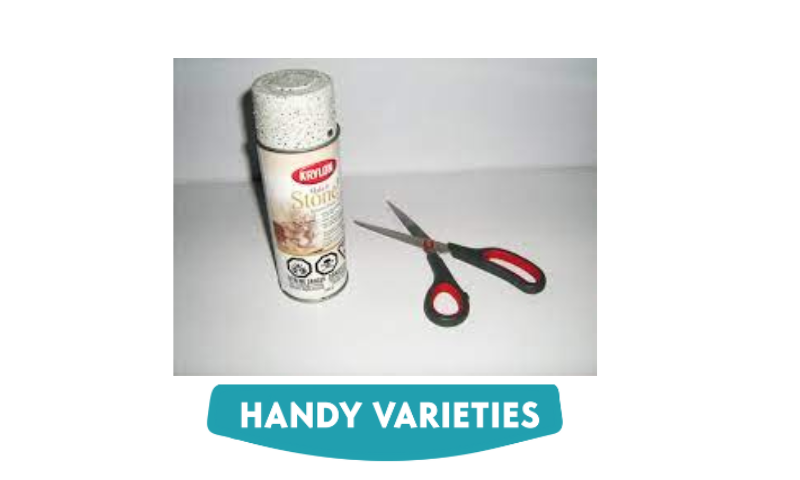
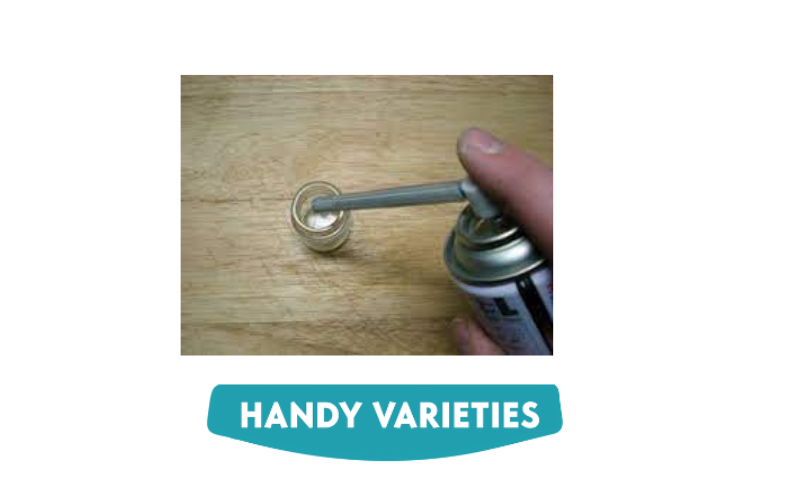
There are a few different ways to prime drywall. One option is to use a silicone primer. Another option is to use a traditional primer. Either option can be applied using a sprayer or a brush.
What Is The Difference Between A Silicone Primer And A Traditional Primer?
A silicone primer is a type of primer that is made of silicone. Silicone primers are less likely to clog pores in the drywall, which makes them ideal for use on porous surfaces like drywall. They also last longer than traditional primers and are easier to apply.
What Are Some Tips For Preparing For Painting?
Here are a few tips for preparing for painting:
- Make sure that you have all of the materials that you need.
- Make sure that the area that you are painting is clean and free of any debris.
- Make sure that the surface that you are painting is level.
- Make sure that the surface that you are painting is well-covered.
- Make sure that the surface that you are painting is protected from the elements.
- Make sure that the paint that you are using is compatible with the surface that you are painting.
- Make sure that you have adequate ventilation in the area.
- Make sure that you have adequate light in the area.
- Make sure that you are well-trained in how to use the equipment that you are using.
- Make sure that you have a friend or family member to help you if necessary.
In conclusion, priming a drywall surface helps to prevent the paint from sticking to the wall and also creates a smoother surface for painting. There are a few different ways to prime a drywall surface, and each option has its advantages and disadvantages. Ultimately, it is important to consult with a painter before painting to ensure that the job proceeds smoothly.
Priming drywall before painting will help to prevent moisture and other materials from seeping into the wall and causing damage. Be sure to check with your contractor or painter to see if they have any additional tips that you may need to follow.
Can you paint straight onto drywall?
Are you considering painting your walls straight onto drywall? While this may seem like a quick and easy solution, there are a few things to consider before you start. In this article, we will discuss the pros and cons of painting straight onto drywall and give you some tips on how to do it safely.
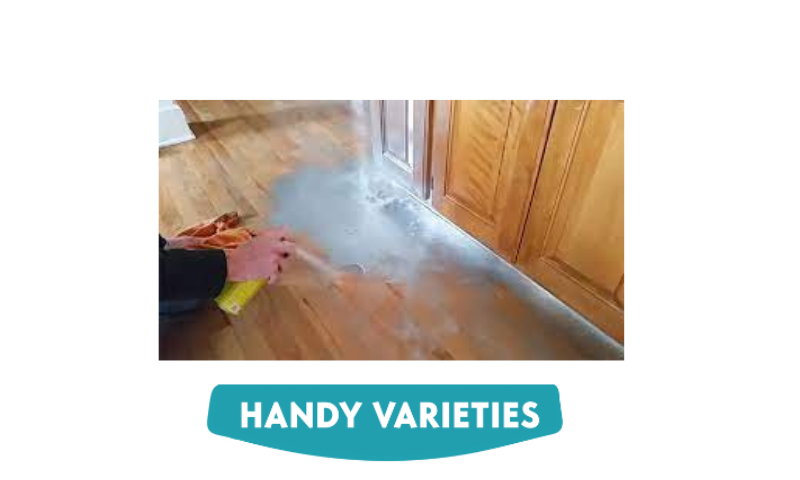
Straight painting onto drywall can be a quick and easy solution, but there are a few things to consider first. First, ensure the surface is clean and free of oils, dust, or dirt. Next, be sure to prepare the wall by sanding it down to the drywall surface (if necessary). Finally, paint using low-viscosity paint that is compatible with drywall.
What are the Pros and Cons of Painting Straight Onto Drywall?
The pros of painting straight onto drywall include the fact that it is a quick and easy solution. Painting directly onto the drywall is also a cost-effective way to update your walls. However, there are a few cons to consider. First, painting straight onto drywall can be a risky proposition. If you make any mistakes, the paint could easily get wet and cause damage. Additionally, straight painting can be difficult if you have a lot of curves or angles on your wall. If you are unable to paint smoothly, the results may not be satisfactory.
How to Paint Straight Onto Drywall Safely?
There are a few tips that will help you paint straight onto drywall safely. First, ensure the surface is clean and free of oils, dust, or dirt. Next, prepare the wall by sanding it down to the drywall surface (if necessary). Finally, use low-viscosity paint that is compatible with drywall. By following these tips, you can ensure a successful and safe painting experience.
How to Paint Straight Onto Drywall Safely
To paint straight onto drywall safely, follow these tips:
1. Prep the Wall:
Before you start painting, make sure to prep the wall by cleaning it and sanding it down. This will help to ensure that the paint goes on smoothly and does not get wet.
2. Use Good Paint:
Make sure to use good quality paint that is compatible with drywall. If you use paint that is not compatible, the paint could easily start to peel off the wall.
3. Use Protective Coating:
Before you start painting, apply a protective coating to the wall. This will help to prevent the paint from getting wet and causing damage.
4. Check the Finished Product:
Once the paint is dry, check the finished product to make sure that it is correct. If there are any problems, such as paint chips or water spots, then remove them.
Painting straight onto drywall is a quick and easy solution, but be sure to take precautions to ensure that the paint goes on smoothly and does not get wet.
Can you paint over drywall without a primer?
Many homeowners are interested in painting over drywall without primer. There are a few reasons for this. Primer can be expensive, it can be difficult to apply, and it can be time-consuming.
If you’re considering painting over drywall without primer, there are a few things to keep in mind. First, ensure the surface is clean and free of dust or debris. Next, be sure to use high-quality paint that will adhere to the drywall. Finally, be sure to apply the paint evenly and carefully.
What is Drywall?
A drywall is a type of wallboard that is made of paper and other materials. It is often used in place of real brick or stone in new construction. The drywall is solid and can be painted or covered with wallpaper.
What are the Advantages of Painting Over Drywall Without Primer?
There are many advantages to painting over drywall without primer. Primer can be expensive, it can be difficult to apply, and it can be time-consuming. Painting over drywall without primer is also easier and faster.
Some of the benefits of painting over drywall without primer include:
-Drywall is a very strong material, but paint can easily remove it. Painting over drywall without primer will protect your home from damage caused by the paint.
-Primer can be difficult to apply evenly and correctly. Paint will adhere to the surface better if it is applied without a primer.
-If you’re painting over a large area, it can be time-consuming to apply primer and then paint. Painting over drywall without a primer will save you time and energy.
How Can I Paint Over Drywall Without a Primer?
There are a few ways to paint over drywall without primer. One way is to use a sealant that will coat the surface of the drywall and protect it from paint. Another way is to use high-quality water-based paint that will adhere to the drywall. The best way to find out if a particular type of paint will adhere to drywall is to try it on a small area first.
What are the Disadvantages of Painting Over Drywall Without Primer?
The main disadvantage of painting over drywall without primer is that it can be difficult to correct mistakes. Also, if the paint is not applied properly, then the drywall may not be protected.
Can I Paint Over Drywall Without a Primer if I am Experienced?
Yes, you can paint over drywall without primer if you are experienced. However, it is important to note that you may not be able to correct mistakes if they are made. If you’re painting over a large area, it is best to use a primer first.
What is the Best Way to Apply Paint Over Drywall Without Primer?
The best way to apply paint over drywall without primer is to use a brush. You should also use a primer if you are painting over drywall without a primer. If you use a brush, make sure to apply the paint evenly and carefully.
Painting over drywall without primer is a great way to update your home without spending a lot of money. However, be sure to consider the disadvantages before you start painting.
What happens if I don’t prime my walls before painting?
Painting your walls is a great way to add some personality and life to your home. However, before you start painting, it is important to prime the walls. prime the wall means covering the wall with a layer of paint that will help to prevent the paint from peeling or chipping. If you do not prime your walls, the paint may start to peel after a few weeks or months, and the paint will also chip more easily.
What is The Purpose of Priming The Walls?
Priming the walls is important to prevent the paint from peeling or chipping. Priming also helps to create a smoother surface on which to paint. If you do not prime the walls, the paint may start to peel after a few weeks or months, and the paint will also chip more easily.
When Should I prime my Walls?
The best time to prime your walls is before you start painting them. However, you can also prime the walls if you are going to be painting over a previous coat of paint.
What are Some Common Reasons Why Walls May Need Priming?
Walls may need priming if they are newly painted, if the paint has been damaged in some way, or if the wall is subject to high humidity levels.
How Do I Prime The Walls?
There are a few different ways that you can prime the walls. One option is to use a spray primer. Another option is to use a sealant. You can also prime the walls using a brush or a roller.
Which Type of Primer Should I Use?
There is no one answer to this question. You should use the primer that is most suited to the type of paint that you are using. Some primers are designed to be used with spray paint, while others are designed to be used with brush or roller techniques.
Are There Any Side Effects To Prime The Walls?
There may be some side effects to priming the walls. These side effects depend on the type of primer that you use and on your skin and hair type. However, most people do not experience any side effects from priming the walls.
What are the Side Effects of Not Priming The Walls?
Not priming the walls can lead to peeling paint, chipped paint, and worse. By priming the walls, you can help to prevent these issues from happening.
Tips: 8 Tips for Priming Your Walls
- Make sure that the walls are clean and free of any debris.
- Choose the right primer or sealant for the type of paint that you are using.
- Prime the walls in the correct order – first, apply a coat of primer, then a coat of paint.
- Wait at least 24 hours before painting the walls.
- Allow the primer to dry completely before painting.
- Keep the walls clean and dry to prevent paint from chipping.
- Avoid painting near windows or doors, which are high-humidity areas.
- Check with the manufacturer of the paint for specific instructions.
Is primer necessary on new drywall?
The new drywall is a popular material that is used in many homes and businesses. The new drywall is made of gypsum and other materials, which makes it stronger and more durable. However, there is a new drywall primer that is needed to make the new drywall work properly.
Primer is a substance that is used on new drywall to help the wall adhere to the surface it is being built on. Without primer, the new drywall may not stick to the wall and may eventually fall. Primer also helps to resist moisture and other damage. If you are thinking of using new drywall in your home or business, be sure to get a primer kit and apply it before beginning construction.
What is The New Drywall Primer?
The new drywall primer is a substance that is used to make the new drywall work properly. The primer makes the new drywall stick to the wall, which makes it stronger and more durable. The primer also helps to resist moisture and other damage.
How is The New Drywall Primer Used?
Primer is used in two ways. The first way is to apply it before you begin construction. When you are putting up the new drywall, you will need to apply a coat of primer to the wall. Then, you will need to wait until the primer has dried before you start building on it.
The second way that primer is used is when you are repairing or replacing old drywall. If you are doing a renovation, and you find that there is damage on the walls, you can use a primer to help repairs stick better. Lastly, if you are replacing old drywall with new drywall, make sure to get a primer kit so that the new drywall will adhere properly.
What is The Purpose Of The New Drywall Primer?
The purpose of the new drywall primer is to make the new drywall stick to the wall. This makes the new drywall stronger and more durable, which is why it is often used in homes and businesses. The primer also helps to resist moisture and other damage.
What are the Risks of Not Using The New Drywall Primer?
If you don’t use the new drywall primer, the new drywall may not stick to the wall. This can cause it to fall, which is a risk in any renovation project. Additionally, if you are repairing or replacing old drywall, without the primer the repairs may not hold. Finally, if you are using new drywall in place of old drywall, without the primer the new drywall may not adhere to the surface well.
How Much Does The New Drywall Primer Cost?
The new drywall primer cost depends on the brand and the size of the container. However, the cost of the primer is often less than the cost of replacing the wall.
What Are The Advantages Of Using The New Drywall Primer?
The advantages of using the new drywall primer include the following:
- The new drywall primer makes the new drywall stronger and more durable.
- The new drywall primer makes the new drywall stick to the wall.
- The new drywall primer is less expensive than replacing the wall.
The new drywall primer is a substance that is needed to make the new drywall work properly. The primer makes the new drywall stick to the wall, which makes it stronger and more durable. The primer is less expensive than replacing the wall, and the advantages of using the primer include the following.
Is it better to roll or spray primer on new drywall?
New drywall is a great way to update your look, but before you start painting or installing flooring, be sure to primer the wall. Priming will help the paint and flooring stick to the wall and improve the overall look and durability of your new drywall installation.
There are two main types of primers: roll and spray. Roll primers are applied with a roller, while spray primers are applied using an aerosol can. Both methods work well, but there are some important differences to consider before you make your decision.
Roll primers are cheaper and easier to use, but they also require more time and manpower than spray primers. They’re also less effective at coating the entire wall, so be prepared to apply several coats if you want a solid finish.
Spray primers, on the other hand, are more expensive but offer a better overall result. They coat the wall in one go and provide a more durable finish that will last longer than roll primer. However, they can be more difficult to use – especially if you have large areas to cover – so be prepared for some trial and error before getting the perfect result.
What is The Primer That You Should Use For New Drywall?
There are a few primers that you can use for new drywall. Some primers are designed to help the paint and flooring stick to the wall. Other primers are designed to protect the wall from moisture and other damage.
What are The Benefits of Priming New Drywall?
The benefits of priming new drywall include increased durability, improved paint, and flooring adherence, and a more finished look.
Which Primer Should You Use For New Drywall?
If you are using a primer designed to help the paint and flooring adhere to the wall, then you should use the primer. If you are using a primer designed to protect the wall from moisture and other damage, then you should use the primer.
What Should You Do If You Don’t Have The Primer That You Need?
If you don’t have the primer that you need, then you can use another primer that is designed for new drywall. However, be sure to test the primer before you use it on the wall.
Priming your new drywall installation is important for a finished look and increased durability. Be sure to choose the primer that is right for your needs and test it before you use it on the wall.