Are you looking to paint over silicone caulking? You’re not alone. Many homeowners are trying to find a way to remove silicone caulk from their walls and floors.
There are a few methods you can use to remove silicone caulk. Some people use a vegetable oil-based paint stripper. Others use a chemical stripper that contains hydrofluoric acid.
Most people find that using a chemical stripper is the easiest and most effective way to remove silicone caulk. Just be sure to wear protective gear, including goggles and gloves, and avoid getting the stripper on your skin or in your eyes.
If you decide to use a vegetable oil-based paint stripper, be sure to dilute it with water before using it. The paint stripper will also discolor surfaces it touches. So, if you plan to paint over silicone caulking, be prepared to clean the area afterward with a degreaser.
What Is Silicone Caulking?
Silicone caulk is a type of adhesive that is commonly used to seal cracks and gaps in walls and floors. It is a type of waterproofing material that can be difficult to remove.
What Do I Need To Remove Silicone Caulking?
If you want to remove silicone caulking, you will need to use special tools and solvents that are designed for the job. You should also wear protective clothing and eye protection when removing the silicone caulk.
What Is The Best Way To Paint Over Silicone Caulking?
There are several ways to paint over silicone caulking. You can use a primer, a water-based latex paint, a latex enamel, or an oil-based paint. Each of these methods has its own advantages and disadvantages, so it’s important to research each one before making a decision.
What Are The Risks Of Picking The Wrong Color Of Paint?
For most homeowners, picking the wrong color of paint for their project can be a costly mistake. Make sure you do your research and choose a color that will complement your project and fit in with the décor of your home.
How Do I Clean Up After Painting?
Once you’ve finished painting, it’s important to clean up any leftover paint and debris from the project area. You should also check for any spots where the silicone caulking has been removed, as this can lead to future water damage or leaks if not properly sealed.
We hope this article has given you some insight into the best way to paint over silicone caulking. Remember that there are risks involved with painting projects, and it’s always best to consult an experienced professional before starting any project.
Can you paint over silicone caulking?
Are you looking for a way to paint over silicone caulking? You’re not alone. Many homeowners are looking for ways to make their homes more beautiful and functional. Unfortunately, silicone caulking is hard to remove with traditional painting techniques.
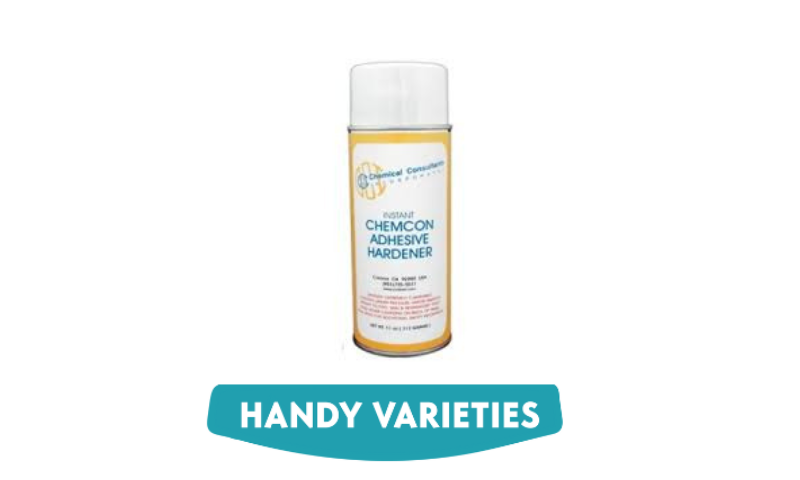
Fortunately, there are a few solutions that you can try. One option is to use a silicone caulk remover. This type of product has been specifically designed to dissolve and remove silicone caulking. It typically comes in a spray bottle or gel form and is easy to use. Simply apply the remover to the silicone caulking and wait until it starts to work its magic.
If you decide to use a silicone caulk remover, be sure to follow the instructions carefully. Otherwise, you may end up with a messy or damaged surface.
In the end, it really depends on your situation and what kind of paint you want to use. But whether you choose silicone caulk removal or traditional painting techniques, be sure to consult with an expert first. They can give you specific advice on how best to proceed.
What is Silicone Caulking?
Silicone caulking is a versatile alternative to traditional caulking. It can be used to seal gaps, cracks, and crevices around your home. It is easy to apply and can be used on both indoor and outdoor surfaces.
What is the Difference Between Silicone Caulking and Regular Caulking?
Silicone caulking is typically thicker than regular caulking and is suitable for outdoor use. It also has a longer lifespan than regular caulking, making it an ideal option for long-term projects.
How Can I Paint Over Silicone Caulking?
There are a few different ways to paint over silicone caulking. You can use a primer and paint, use an adhesive primer, or use paint that contains silicone. Each method will work differently and has its own advantages and disadvantages.
What Are the Pros and Cons of Painting Over Silicone Caulking?
Painting over silicone caulking has many advantages, such as increased durability, reduced potential for mold growth, and improved appearance. However, it can be difficult to remove the silicone caulking once it has been painted over.
What Are Some Other Ways to Paint Over Silicone Caulking?
You can also try using self-leveling paint, taping off areas you don’t want to be painted, or using an all-purpose primer before painting. Each of these methods will have its own advantages and disadvantages.
Painting over silicone caulking can be a great way to improve the appearance of your home. With the right techniques, you can make sure your project is a success!
What kind of paint will stick to silicone?
Do you have a room that needs a little more pizzazz? Maybe you want to spruce up the look of your kitchen, bathroom, or bedroom. One of the best ways to do this is by painting. But, how do you know which type of paint will stick to silicone?
There are a few things to keep in mind when painting silicone surfaces. First, the paint should be water-resistant. Second, the paint should be oil-based or acrylic. Third, the paint should be designed for use on silicone. Finally, the paint shouldn’t have any harsh chemicals or solvents.
Here are a few examples of paint that will stick to silicone:
-Acrylics: acrylic paints are formulated to be used on silicone surfaces.
-Oil-based paints: oil-based paints are known for their durability and resistance to water and other elements. They can also be used on non-silicone surfaces.
-Watercolors: many watercolors are water-soluble, which means they can be washed away with soap and water. However, some watercolors, like gouache and watercolor pencils, are not soluble in water and will require a preliminary wash with alcohol to remove any oils from the surface.
If you’re undecided about which type of paint to use, test a small section on a non-silicone surface first to make sure the paint will work. Then, apply the paint to the silicone surface and wait for it to dry.
What Kind of Paint Will Stick to Silicone?
The right type of paint will stick to the silicone. You’ll need paint that is latex-based and contains a low amount of water. This ensures that the paint will be able to adhere to the surface of the silicone without any problems.
How Do I Choose the Right Paint for My Project?
Once you’ve determined that your paint will stick to silicone, it’s time to start shopping for the right brand and color. Make sure to read the labels and look for paints that are made specifically for use on silicone surfaces.
What Should I Do Before Painting?
Before you start painting, you should make sure your area is clean and free of dust, debris, and other contaminants. This will help ensure that you don’t get any unwanted scratches or marks on your silicone surface.
What Tools Do I Need for Painting?
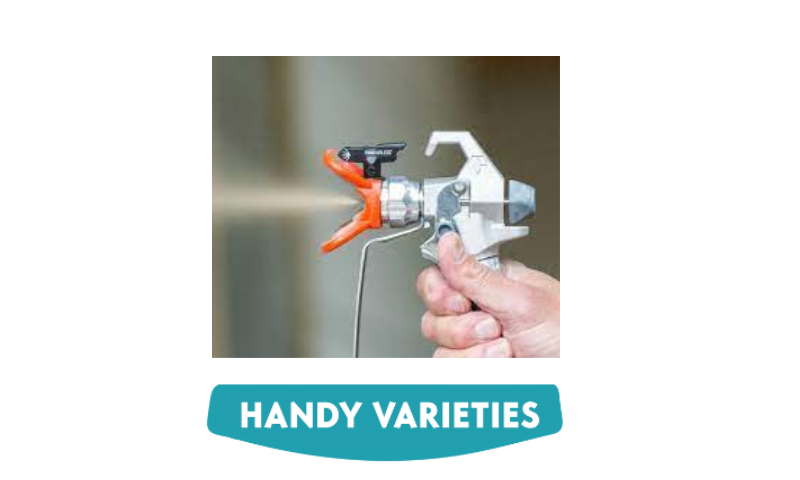
You’ll need a few tools for proper painting on silicone. These include a primer, paintbrush, roller, and a respirator mask if you’re using spray paint.
How Do I Paint on Silicone?
To start painting on silicone, use a primer first. Then apply a thin layer of latex-based paint with a roller. Let it dry for at least 30 minutes before moving on to the next step.
Now that you know how to paint on silicone, you can get started on your project. Just remember to read the labels and choose the right type of paint for your project.
How do you get paint to stick to silicone?
Are you looking for ways to get paint to stick to silicone? You’re not alone. Hundreds of people are searching for the best methods to get paint to stick to silicone.
The best way to get paint to stick to silicone is by using a primer. Primers help the paint stick to the silicone and make it easier for you to apply the paint. There are a few types of primers to choose from, including water-based and oil-based primers.
Water-based primers are the cheapest option and they work well on most surfaces. They’re also opaque so you can’t see the color of the paint through them. Oil-based primers, on the other hand, are more expensive but they work better on oily surfaces. They’re also opaque so you can see the color of the paint through them.
If you want to use a spray primer, be sure to follow the instructions that come with it. Some spray primers require you to shake them before use, while others don’t. Shake them well before using them so that the primer evenly coats all of your surfaces.
Once you’ve applied the primer, you can start painting. Be sure to use a light coat of paint so that it doesn’t dry on. Once the paint is dry, you can add more layers if necessary.
What Are the Different Methods of Getting Paint to Stick to Silicone?
There are a variety of ways you can get paint to stick to silicone. The most common is using a spray adhesive, but you can also use a brush, cloth, or even a sponge.
How Do You Get Paint to Stick to Silicone?
The key is finding the right formula for your project. While some formulas are designed specifically for acrylic paint, other formulas are designed specifically for oil-based paints.
What Are the Benefits of Getting Paint to Stick to Silicone?
There are many reasons why you should get paint to stick to silicone. Primarily, it will make your project look more professional and it will also allow you to create complex designs that would otherwise be difficult or impossible with other materials.
What Are the Risks of Getting Paint to Stick to Silicone?
While getting paint to stick to silicone can be a great way to add a professional look, it does come with its own set of risks. If your silicone isn’t properly prepared, or if it’s not compatible with your paint, then your project could end up looking messy or even damaged.
Is 100% silicone caulking paintable?
Is 100% silicone caulking paintable? In this essay, we will discuss the pros and cons of using silicone caulking paint. First, let’s take a look at the benefits of silicone caulking paint.
One of the biggest benefits of silicone caulking paint is that it is resistant to moisture and weather conditions. This means that silicone caulking paint can be used in areas where there is high water pressure or humidity, which is ideal for areas such as roofs, gables, and eaves. Additionally, silicone caulking paint is also resistant to oil and grease, which makes it ideal for use in areas where there is an increased risk of water or oil seepage.
However, there are some drawbacks to using silicone caulking paint. First, silicone caulking paint can be difficult to apply due to its viscoelastic properties. Additionally, silicone caulking paint can be expensive compared to other types of caulking products. In addition, silicone caulking paint may not adhere as well to certain surfaces as other types of caulking products. Finally, silicone caulking paint may not be compatible with some paints and sealants.
Ultimately, it is important to consider the pros and cons of using silicone caulking paint before making a decision.
What is Silicone Caulking Paint?
Silicone caulking paint is a product that is used to seal and waterproof porous surfaces. It is a water-based latex-free formula that dries quickly, is easy to apply, and has good adhesion.
What are the Benefits of Using Silicone Caulking Paint?
Silicone caulking paint has many benefits, including being waterproof, flexible, and durable. It also has good water resistance, which makes it ideal for use in areas that are prone to water damage such as basements or crawl spaces. It also has good adhesion and can be used for a variety of applications.
What are the Cons of Using Silicone Caulking Paint?
One of the cons of using silicone caulking paint is that it can be difficult to remove once it has dried. It also can be flammable and may not be suitable for some applications.
How to Use Silicone Caulking Paint?
To use silicone caulking paint, you will need to wet the surface to be painted, then apply the paint evenly across the area with a brush or roller. Once the paint has dried, you can use a grinder or sandpaper to smooth out any imperfections.
In conclusion, silicone caulking paint is a great product that can be used for many different applications. It has many benefits and a few cons, making it an excellent choice for sealing and waterproofing porous surfaces. With proper application, you can have peace of mind knowing your home is protected against water damage and mold growth.
Is there a primer for silicone caulk?
If you’re looking to install silicone caulk on a wall, you may be wondering if there is a primer required. In this essay, we’ll discuss why a primer is required and how to get the job done right.
Silicone caulk is a great way to seal joints in hard-to-reach places. However, because silicone is a soft material, it can sometimes fail when exposed to water and other moisture. This can lead to leaks and even structural damage. To avoid these problems, it’s important to use a primer before installing silicone caulk.
Primers are made of a harder substance that helps the silicone adhere better to the surface to which it’s being applied. Without a primer, the silicone can easily pull away from the surface it’s being applied. This can lead to leaks and other problems down the line.
There are several types of primers available on the market. If you’re looking for something specific, be sure to ask your local hardware store or home improvement store for their recommendations.
If you’re planning on installing silicone caulk in a wall, be sure to ask your contractor or home improvement store for a primer recommendation. This will help ensure a successful installation and avoid potential problems down the line.
What is Silicone Caulk?
Silicone caulking is a type of silicone sealant that is used to seal gaps and joints in tile, stone, and other types of flooring. It’s often used in bathrooms, kitchens, and other areas where water can get trapped.
Why Do You Need a Primer for Silicone Caulk?
When you’re installing silicone caulk, you need to use a primer to make sure that the caulk bonds with the surface properly and forms a strong seal. Without the primer, the caulk could seep through the surface or not bond well enough to be effective.
What Type of Primer Should I Use for Silicone Caulk?
There are two types of primers that you can use for silicone caulking: non-flammable and flammable. The non-flammable type is best for use in areas where there’s a possibility of fire or explosion, while the flammable type is best used in areas where there’s a possibility of burning or combustion.
How Do I Apply the Primer for Silicone Caulk?
To apply the primer, you’ll need to mix it with water first, then apply it with a paintbrush or roller. Make sure to apply the primer in an even layer and allow it to dry before going on to the silicone caulk.
What Are the Benefits of Using Silicone Caulk?
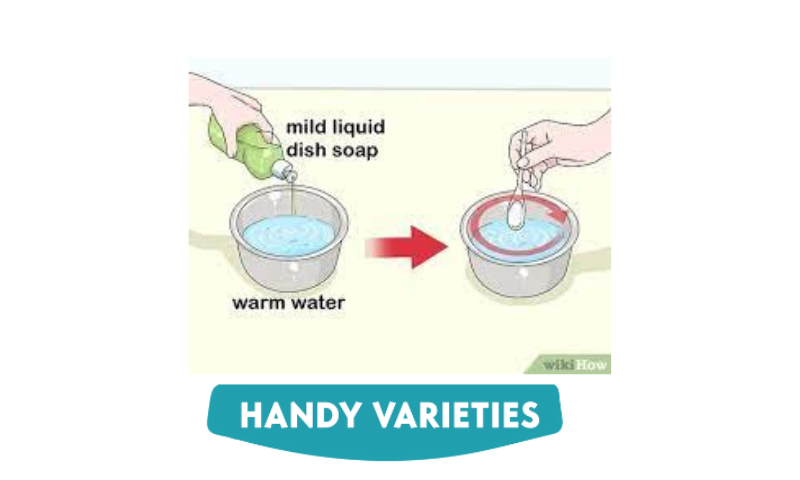
One benefit of using silicone caulk is that it’s easy to remove if necessary. You can simply use warm water and dish soap to loosen it up and then remove it from your surface. It also has a long lifespan, so it can be used multiple times without having to replace it as often as other types of caulking.
We hope this essay has helped you understand why a primer is needed for silicone caulk installation and how to get the job done right. By understanding the benefits and proper application of silicone caulk, you can be sure that your project will be successful.
What happens if you paint non-paintable silicone?
Have you ever wondered what happens if you paint non-paintable silicone? You’re not alone. Many homeowners have the same question and want to know if it is safe to paint non-paintable silicone.
What is Non-Paintable Silicone?
Non-paintable silicone is a type of silicone that is not meant to be painted or stained. It is typically used as a sealant for floors and walls, or as a coating for furniture and appliances.
What Are the Risks of Painting Non-Paintable Silicone?
Painting non-paintable silicone can be dangerous because it can cause the silicone to become brittle and crack under the heat of a paintbrush. Additionally, the silicone can become damaged by water or other liquids, making it difficult to clean up after painting.
Can I Paint Non-Paintable Silicone?
It is possible to paint non-paintable silicone, but it should be done with caution. It is recommended that you test a small area first, and use only low-expansion paints or water-based products. Additionally, be sure to use protective gloves and masks when painting non-paintable silicone.
What Can I Do to Protect My Walls From Paint Splatters?
To protect your walls from paint splatters, you can use wall protection film, or you can buy special spray paint that contains a protective agent. Additionally, you can use a primer before painting, which will help keep the paint from staining your walls.
How Can I Clean Up After Painting?
After painting, you should use an outdoor broom or dustpan to sweep any debris off the floor and into a garbage bag. You should also use a wet mop or damp rag to clean up any water or paint splatters that have accumulated on the floor. Finally, you should use an outdoor vacuum cleaner to clean up any dust or dirt that has accumulated on the floor.
Conclusion
We hope this article has given you some insight into what happens if you paint non-paintable silicone. While it is possible to paint non-paintable silicone, it is important to be aware of the risks involved and to follow all safety precautions when doing so.