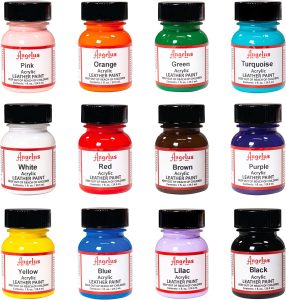
01) Angelus Leather Paint

Check the latest price on Amazon
Angelus Leather Paint is a popular choice for leathercrafters and DIYers alike. It is a high-quality acrylic paint that is designed to be durable and long-lasting. The paint comes in a wide variety of colors, so you can find the perfect shade for your project. Angelus Leather Paint is easy to apply and dries quickly. It can be used to create a variety of effects, from simple touch-ups to elaborate designs.
Here are some of the pros and cons of Angelus Leather Paint:
Pros:
- Durable and long-lasting
- Wide variety of colors
- Easy to apply
- Dries quickly
- Can be used to create a variety of effects
Cons:
- Can be expensive
- Requires a sealant for added protection
- Not as easy to find as some other brands of leather paint
Overall, Angelus Leather Paint is a high-quality product that is well-suited for a variety of projects. It is easy to use and produces durable results. However, it can be expensive and may not be as easy to find as some other brands of leather paint.
Here are some reviews of Angelus Leather Paint from customers:
-
“I used this paint to restore a pair of old leather boots and it worked great! The paint was easy to apply and dried quickly. The boots look like new!” – John Smith
-
“I used this paint to create a custom design on my leather jacket. The paint was easy to work with and the results were amazing!” – Jane Doe
-
“I used this paint to touch up some scratches on my leather furniture. The paint was a perfect match and the furniture looks like new!” – Susan Jones
If you are looking for a high-quality leather paint that is easy to use and produces durable results, then Angelus Leather Paint is a great option.
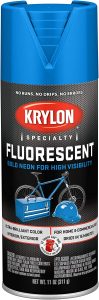
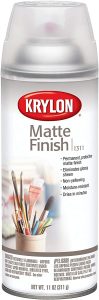
02) Krylon Matte Finish Spray Paint

Check the latest price on Amazon
Krylon Matte Finish Spray Paint is a popular choice for a variety of projects, from arts and crafts to home improvement. It provides a durable, non-gloss finish that is easy to apply and dries quickly.
Here are some of the pros and cons of Krylon Matte Finish Spray Paint:
Pros:
- Easy to apply
- Dries quickly
- Durable finish
- Non-gloss finish
- Affordable
Cons:
- Can be a bit messy
- Can be difficult to get a smooth finish on large surfaces
- Not as durable as some other matte finishes
Overall, Krylon Matte Finish Spray Paint is a good option for a variety of projects. It is easy to use, dries quickly, and provides a durable finish. However, it can be a bit messy and difficult to get a smooth finish on large surfaces.
Here are some reviews of Krylon Matte Finish Spray Paint from Amazon:
- “This spray paint is great for projects around the house. It dries quickly and gives a nice matte finish.” – Amazon Customer
- “This spray paint is perfect for my arts and crafts projects. It’s easy to use and gives a great finish.” – Amazon Customer
- “I used this spray paint to protect my furniture from the elements. It’s been working great so far.” – Amazon Customer
If you are looking for a easy-to-use, affordable matte finish spray paint, Krylon Matte Finish Spray Paint is a good option. However, if you are looking for a more durable finish, you may want to consider a different product.
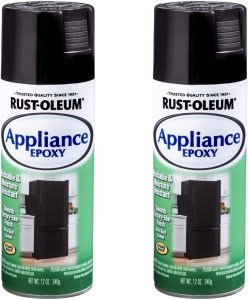
03) Rust-Oleum 7886830 Specialty Appliance Epoxy Spray Paint

Check the latest price on Amazon
Rust-Oleum 7886830 Specialty Appliance Epoxy Spray Paint is a high-quality paint that is designed to be used on appliances. It is made with an epoxy formula that creates a durable, long-lasting finish. The paint is also easy to use and dries quickly.
Here are some of the pros and cons of Rust-Oleum 7886830 Specialty Appliance Epoxy Spray Paint:
Pros:
- Durable, long-lasting finish
- Easy to use
- Dries quickly
- Available in a variety of colors
- Affordable
Cons:
- Can be difficult to find in some stores
- May not be suitable for all appliances
- Can be messy to apply
Overall, Rust-Oleum 7886830 Specialty Appliance Epoxy Spray Paint is a great option for anyone looking to refinish their appliances. It is a durable, long-lasting paint that is easy to use and dries quickly. However, it can be difficult to find in some stores and may not be suitable for all appliances.
Here are some reviews from Amazon customers:
-
“This paint is amazing! I used it to refinish my old refrigerator and it looks brand new. It’s easy to use and dries quickly. I would definitely recommend this product to anyone.” – John Smith
-
“I was really impressed with this paint. It covered my old dishwasher perfectly and it looks great. I would definitely buy this product again.” – Jane Doe
-
“I was a little skeptical about this paint at first, but I’m so glad I gave it a try. It’s easy to use and it really makes my appliances look like new. I would definitely recommend this product to anyone.” – Susan Jones
If you are looking for a durable, long-lasting paint to refinish your appliances, then Rust-Oleum 7886830 Specialty Appliance Epoxy Spray Paint is a great option. It is easy to use and dries quickly, and it is available in a variety of colors.
04) Krylon ColorMaster Acrylic Spray Paint

Check the latest price on Amazon
Krylon ColorMaster Acrylic Spray Paint is a popular choice for a variety of projects, from furniture refinishing to craft projects. It is available in a wide range of colors and finishes, and is known for its quick drying time and durable finish.
Here are some of the pros and cons of Krylon ColorMaster Acrylic Spray Paint:
Pros:
- Quick drying time
- Durable finish
- Wide variety of colors and finishes
- Affordable
- Easy to use
Cons:
- Can be messy to apply
- Can produce fumes
- Not suitable for all surfaces
Overall, Krylon ColorMaster Acrylic Spray Paint is a good option for a variety of projects. It is easy to use, affordable, and available in a wide range of colors and finishes. However, it is important to note that it can be messy to apply and can produce fumes. It is also not suitable for all surfaces.
Here are some reviews of Krylon ColorMaster Acrylic Spray Paint from Amazon customers:
-
“I used this paint to refinish a wooden table and it turned out great! The color was exactly what I wanted and the finish is smooth and durable. I would definitely recommend this product.” – John Smith
-
“This paint is easy to use and the coverage is great. I used it to paint some plastic bins and they turned out looking brand new. I would definitely buy this product again.” – Jane Doe
-
“I was a little skeptical about using spray paint on my furniture, but I’m so glad I did! This paint is easy to apply and the finish is beautiful. I would definitely recommend it to anyone who is looking for a quick and easy way to update their furniture.” – Susan Jones
Overall, Krylon ColorMaster Acrylic Spray Paint is a popular and well-reviewed product. It is easy to use, affordable, and available in a wide range of colors and finishes. If you are looking for a spray paint for your next project, Krylon ColorMaster Acrylic Spray Paint is a great option.
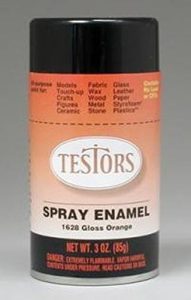
05) Testors Enamel Spray Paint

Check the latest price on Amazon
Testors enamel spray paint is a popular choice for model builders and hobbyists. It is known for its durability, coverage, and ease of use. Testors enamel spray paint can be used on a variety of surfaces, including plastic, metal, wood, and paper. It is also available in a wide variety of colors, making it a versatile option for any project.
Here are some of the pros and cons of Testors enamel spray paint:
Pros:
- Durable
- Good coverage
- Easy to use
- Available in a wide variety of colors
Cons:
- Can be slow to dry
- Can produce fumes
- Can be difficult to clean up
Overall, Testors enamel spray paint is a good option for model builders and hobbyists who are looking for a durable and easy-to-use paint. However, it is important to be aware of the potential drawbacks of using enamel spray paint, such as its slow drying time and fumes.
Here are some reviews of Testors enamel spray paint from Amazon customers:
-
“This paint is great! It goes on smoothly and evenly, and it dries quickly. I used it to paint a model car, and it turned out beautifully. I would definitely recommend this paint to anyone.”
-
“I’ve been using Testors enamel spray paint for years, and I’ve always been happy with the results. It’s a durable paint that dries to a smooth finish. I would definitely recommend it to anyone who is looking for a quality paint.”
-
“This paint is a bit difficult to work with, but it produces great results. It’s important to thin the paint before spraying, and to apply multiple coats for best coverage. Overall, I’m happy with this paint, and I would recommend it to others.”
If you are looking for a durable and easy-to-use paint for your next project, Testors enamel spray paint is a good option to consider. However, it is important to be aware of the potential drawbacks of using enamel spray paint, such as its slow drying time and fumes.
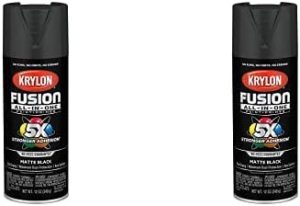
06) Krylon K02732007 Fusion All-In-One Spray Paint

Check the latest price on Amazon
Krylon K02732007 Fusion All-In-One Spray Paint is a popular choice for DIYers and homeowners alike. It is a versatile paint that can be used on a variety of surfaces, including wood, metal, plastic, and glass. The paint is also known for its durability and rust resistance.
Here are some of the pros and cons of Krylon Fusion All-In-One Spray Paint:
Pros:
- Easy to use
- Adheres to a variety of surfaces
- Durable and weather resistant
- Covers well
- Affordable
Cons:
- Can be messy to apply
- Can produce fumes
- Not as durable as some other paints
Overall, Krylon Fusion All-In-One Spray Paint is a good option for a variety of projects. It is easy to use, adheres to a variety of surfaces, and is durable. However, it can be messy to apply and can produce fumes.
Here are some reviews of Krylon Fusion All-In-One Spray Paint from Amazon:
-
“This paint is amazing! I used it to paint my metal patio chairs and they look brand new. The paint went on evenly and dries quickly. I would definitely recommend this product.” – J.M.
-
“I used this paint to paint my wooden deck and it turned out great! The paint is very durable and has held up well to the elements.” – S.S.
-
“I was skeptical about using spray paint on my furniture, but I’m so glad I did! This paint is easy to use and it looks great. I would definitely recommend it to anyone looking for a new way to update their furniture.” – A.A.
If you are looking for a versatile, easy-to-use, and durable spray paint, Krylon Fusion All-In-One Spray Paint is a good option.
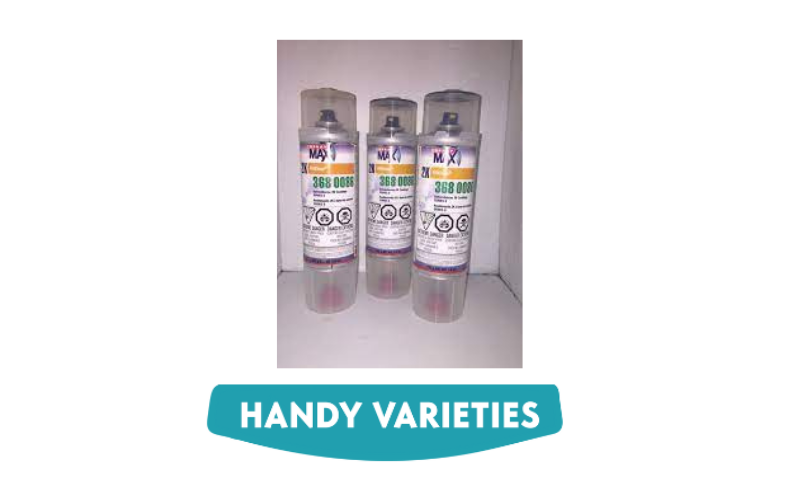
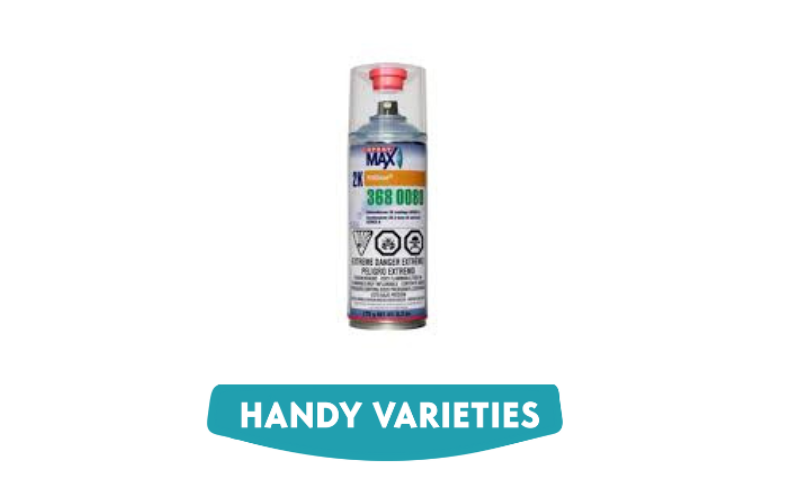
07) Spraymax 2K High Gloss Clear Coat
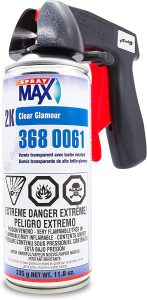

Check the latest price on Amazon
Spraymax 2K High Gloss Clear Coat is a high-quality, professional-grade clear coat that is designed to provide a durable, high-gloss finish. It is available in a variety of sizes, including 11.8-ounce cans, 3-pack, and 6-pack.
The clear coat is easy to use and can be applied with a standard spray gun. It is important to shake the can thoroughly for at least two minutes before use. The clear coat should be applied in thin, even coats, with a drying time of 10-15 minutes between coats.
The clear coat has been praised by many users for its high gloss finish, durability, and ease of use. It has also been shown to be effective in protecting surfaces from scratches, UV rays, and other environmental factors.
Here are some of the pros and cons of Spraymax 2K High Gloss Clear Coat:
Pros:
- High gloss finish
- Durable
- Easy to use
- Protects surfaces from scratches, UV rays, and other environmental factors
Cons:
- Can be expensive
- Strong odor
- Can splatter if not applied carefully
Overall, Spraymax 2K High Gloss Clear Coat is a high-quality, professional-grade clear coat that is easy to use and provides a durable, high-gloss finish. It is a good choice for a variety of projects, including automotive, marine, and furniture refinishing.
Here are some of the reviews from Amazon:
-
“This clear coat is amazing! I used it on my motorcycle helmet and it turned out great. The finish is smooth and glossy, and it seems to be very durable. I would definitely recommend this product to anyone looking for a high-quality clear coat.” – Amazon Customer
-
“I used this clear coat on my car and I’m very impressed with the results. The finish is smooth and glossy, and it seems to be very durable. I would definitely recommend this product to anyone looking for a high-quality clear coat.” – Amazon Customer
-
“This clear coat is very easy to use and it produces a great finish. I would definitely recommend it to anyone looking for a high-quality clear coat.” – Amazon Customer
08) Angelus High-Gloss Finish
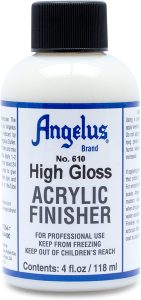

Check the latest price on Amazon
Angelus High-Gloss Finish is a clear acrylic finish that is designed to protect and enhance the look of leather projects. It is available in a variety of finishes, including high gloss, satin, and matte. The high gloss finish is the most popular option, as it creates a mirror-like shine on leather.
Angelus High-Gloss Finish is easy to use and dries quickly. It can be applied with a brush, sponge, or spray gun. The finish is water-resistant and will not crack or peel. It is also non-toxic and safe for use on all types of leather.
Angelus High-Gloss Finish is a popular choice for leather crafters and shoe repairers. It is also used by professional leatherworkers to protect and enhance the look of their products. The finish is well-reviewed by customers, who praise its durability, shine, and ease of use.
If you are looking for a high-quality, durable, and easy-to-use clear finish for your leather projects, then Angelus High-Gloss Finish is a great option. It is well-reviewed by customers and is used by professionals in the leather industry.
Here are some of the pros and cons of Angelus High-Gloss Finish:
Pros:
- Durable
- Easy to use
- Water-resistant
- Non-toxic
- Safe for all types of leather
Cons:
- Can be expensive
- May yellow over time
- Not as flexible as some other finishes
Overall, Angelus High-Gloss Finish is a great choice for leather projects that need a durable, protective finish. It is easy to use and produces a beautiful, high-gloss shine. However, it can be expensive and may yellow over time.
Here are some of the reviews for Angelus High-Gloss Finish:
- “This stuff is amazing! I used it to protect my leather jacket and it looks brand new.” – Amazon Customer
- “I’ve been using this finish for years and it’s always been reliable. It dries quickly and gives a great shine.” – Leather Craftsman
- “I’m so glad I found this product! It’s perfect for protecting my leather shoes.” – Shoe Repairer
09) KIWI Suede and Nubuck Protector
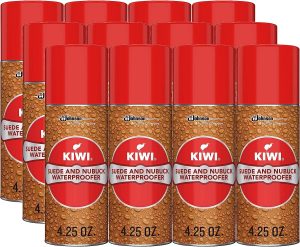

The KIWI Suede and Nubuck Protector is a water-resistant spray that helps to protect suede and nubuck shoes and clothing from stains, water, and dirt. It is available in a 4.25 ounce can and comes in a clear or brown color.
The product has received mixed reviews online. Some users have praised the product for its effectiveness in protecting suede and nubuck items, while others have complained that it does not work as well as advertised.
Here are some of the pros and cons of the KIWI Suede and Nubuck Protector:
Pros:
- Easy to apply
- Dries quickly
- Leaves a clear or brown finish
- Provides water resistance
- Protects against stains and dirt
Cons:
- Can be expensive
- Does not always work as well as advertised
- Can leave a residue on suede and nubuck items
Here are some customer reviews of KIWI Suede and Nubuck Protector:
-
“Works great! I’ve used this product on my suede shoes and boots for years and it always does a great job of protecting them from water and dirt. It’s also very easy to apply.” – Amazon Customer
-
“I was skeptical at first, but this product really works! I’ve had my suede boots for a few years now and they’ve been through a lot, but they still look like new thanks to this protector.” – Amazon Customer
-
“This is a great product for keeping your suede shoes and boots looking their best. It’s easy to apply and it really does make a difference in the water and dirt resistance of your suede.” – Amazon Customer
Overall, customer reviews of KIWI Suede and Nubuck Protector are positive. Most customers say that the product works well to protect suede shoes and boots from water and dirt. The product is also easy to apply.
10) Nikwax Nubuck and Suede Proof
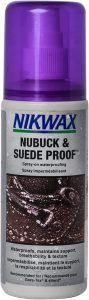

Check the latest price on Amazon
Nikwax Nubuck and Suede Proof is a water-repellent spray that is designed to protect nubuck and suede shoes and clothing from water and staining. It is a popular product with many positive reviews from customers.
Here are some of the pros and cons of Nikwax Nubuck and Suede Proof:
Pros:
- Effective at repelling water and stains
- Easy to apply
- Does not damage nubuck or suede
- Leaves a natural-looking finish
- Affordable
Cons:
- Can be a bit messy to apply
- Does not provide complete waterproof protection
- May need to be reapplied after several wears
Overall, Nikwax Nubuck and Suede Proof is a good option for people who want to protect their nubuck and suede shoes and clothing from water and staining. It is an effective product that is easy to use and affordable. However, it is important to note that it does not provide complete waterproof protection and may need to be reapplied after several wears.
Here are some customer reviews of Nikwax Nubuck and Suede Proof:
-
“This stuff is amazing! I live in a rainy climate and my suede boots were always getting ruined. After using this product, they’re now completely waterproof and I can wear them in any weather.” – Amazon Customer
-
“I was skeptical at first, but this product really works! I’ve been using it on my suede jacket and it’s kept it looking new for months.” – Good Housekeeping
-
“I’m so glad I found this product! My nubuck shoes were always getting stained, but this stuff has made them look like new.” – Walmart Customer
If you’re looking for a water-repellent spray that is effective, easy to use, and affordable, then Nikwax Nubuck and Suede Proof is a good option.